DESCRIPTION
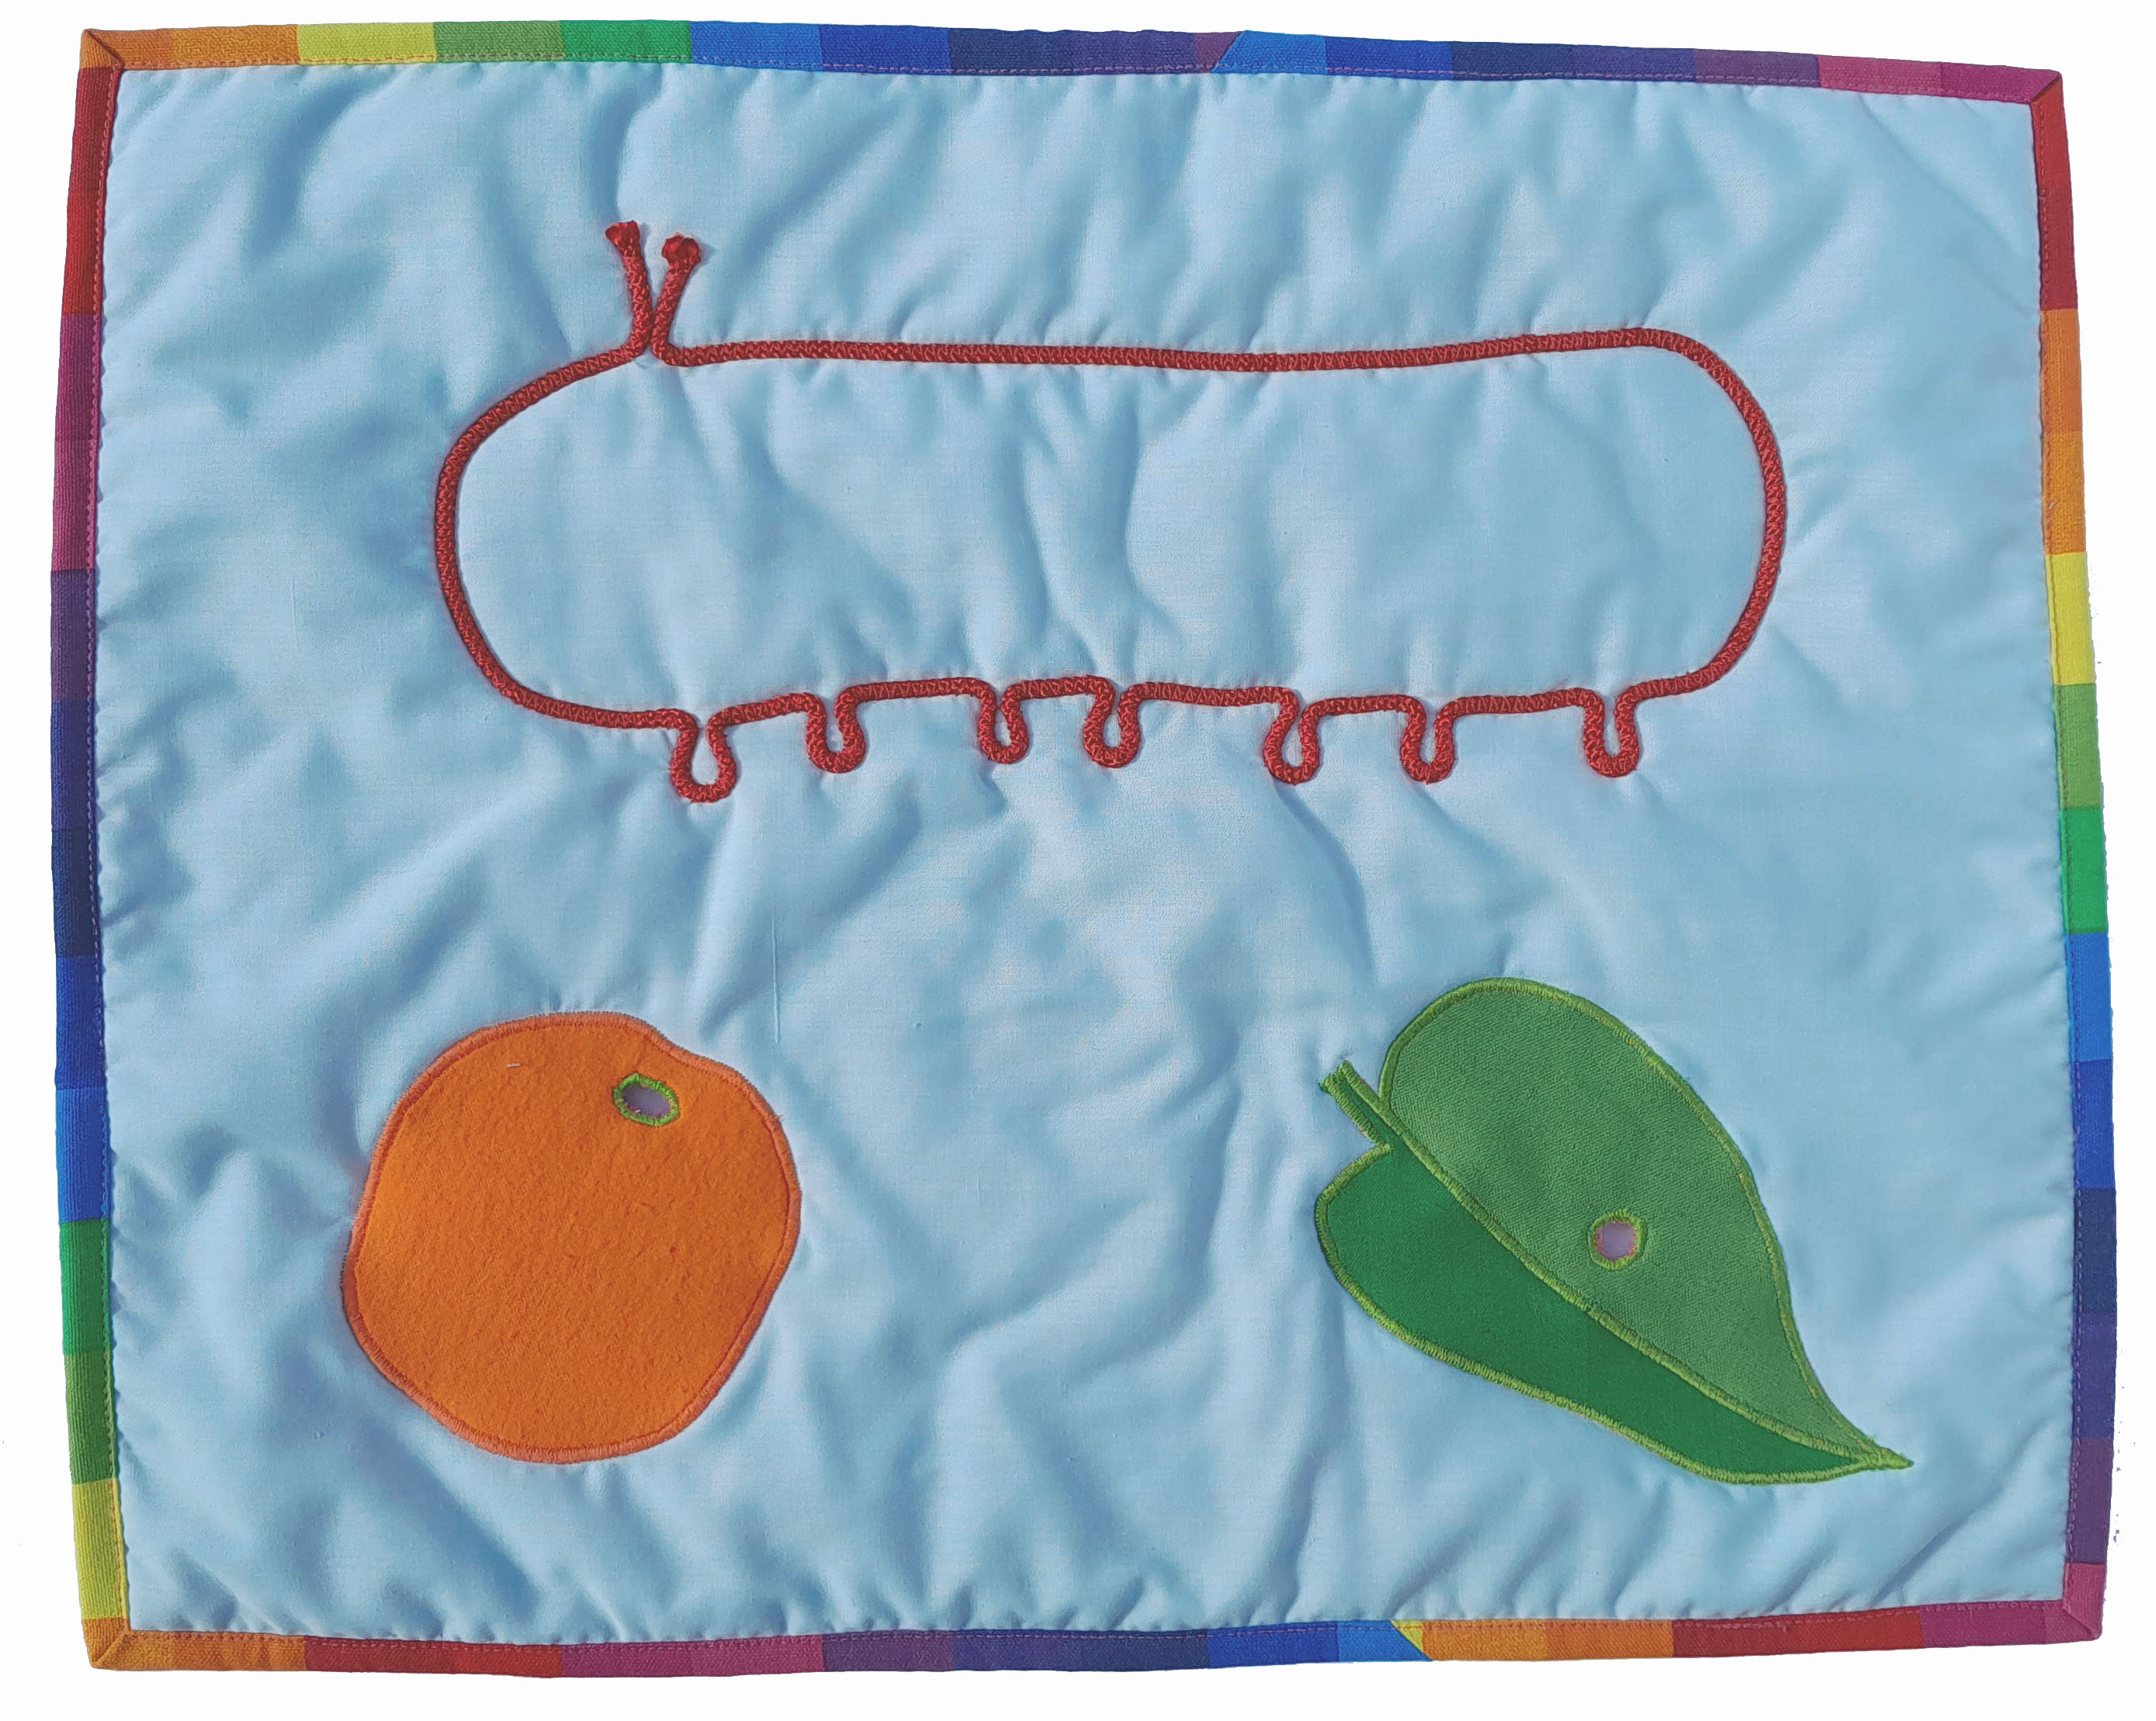
Inspired by The Hungry Caterpillar by Eric Carle, this fun combination of images and textures encourages conversation with play. Did a real caterpillar make the holes?
PLEASE REFER TO THE TECHNICAL INFORMATION BEFORE COMMENCING
Size
Approximately 35cm x 45cm (all layers cut 37 x 47cm)
Materials
- Plain fabric on top
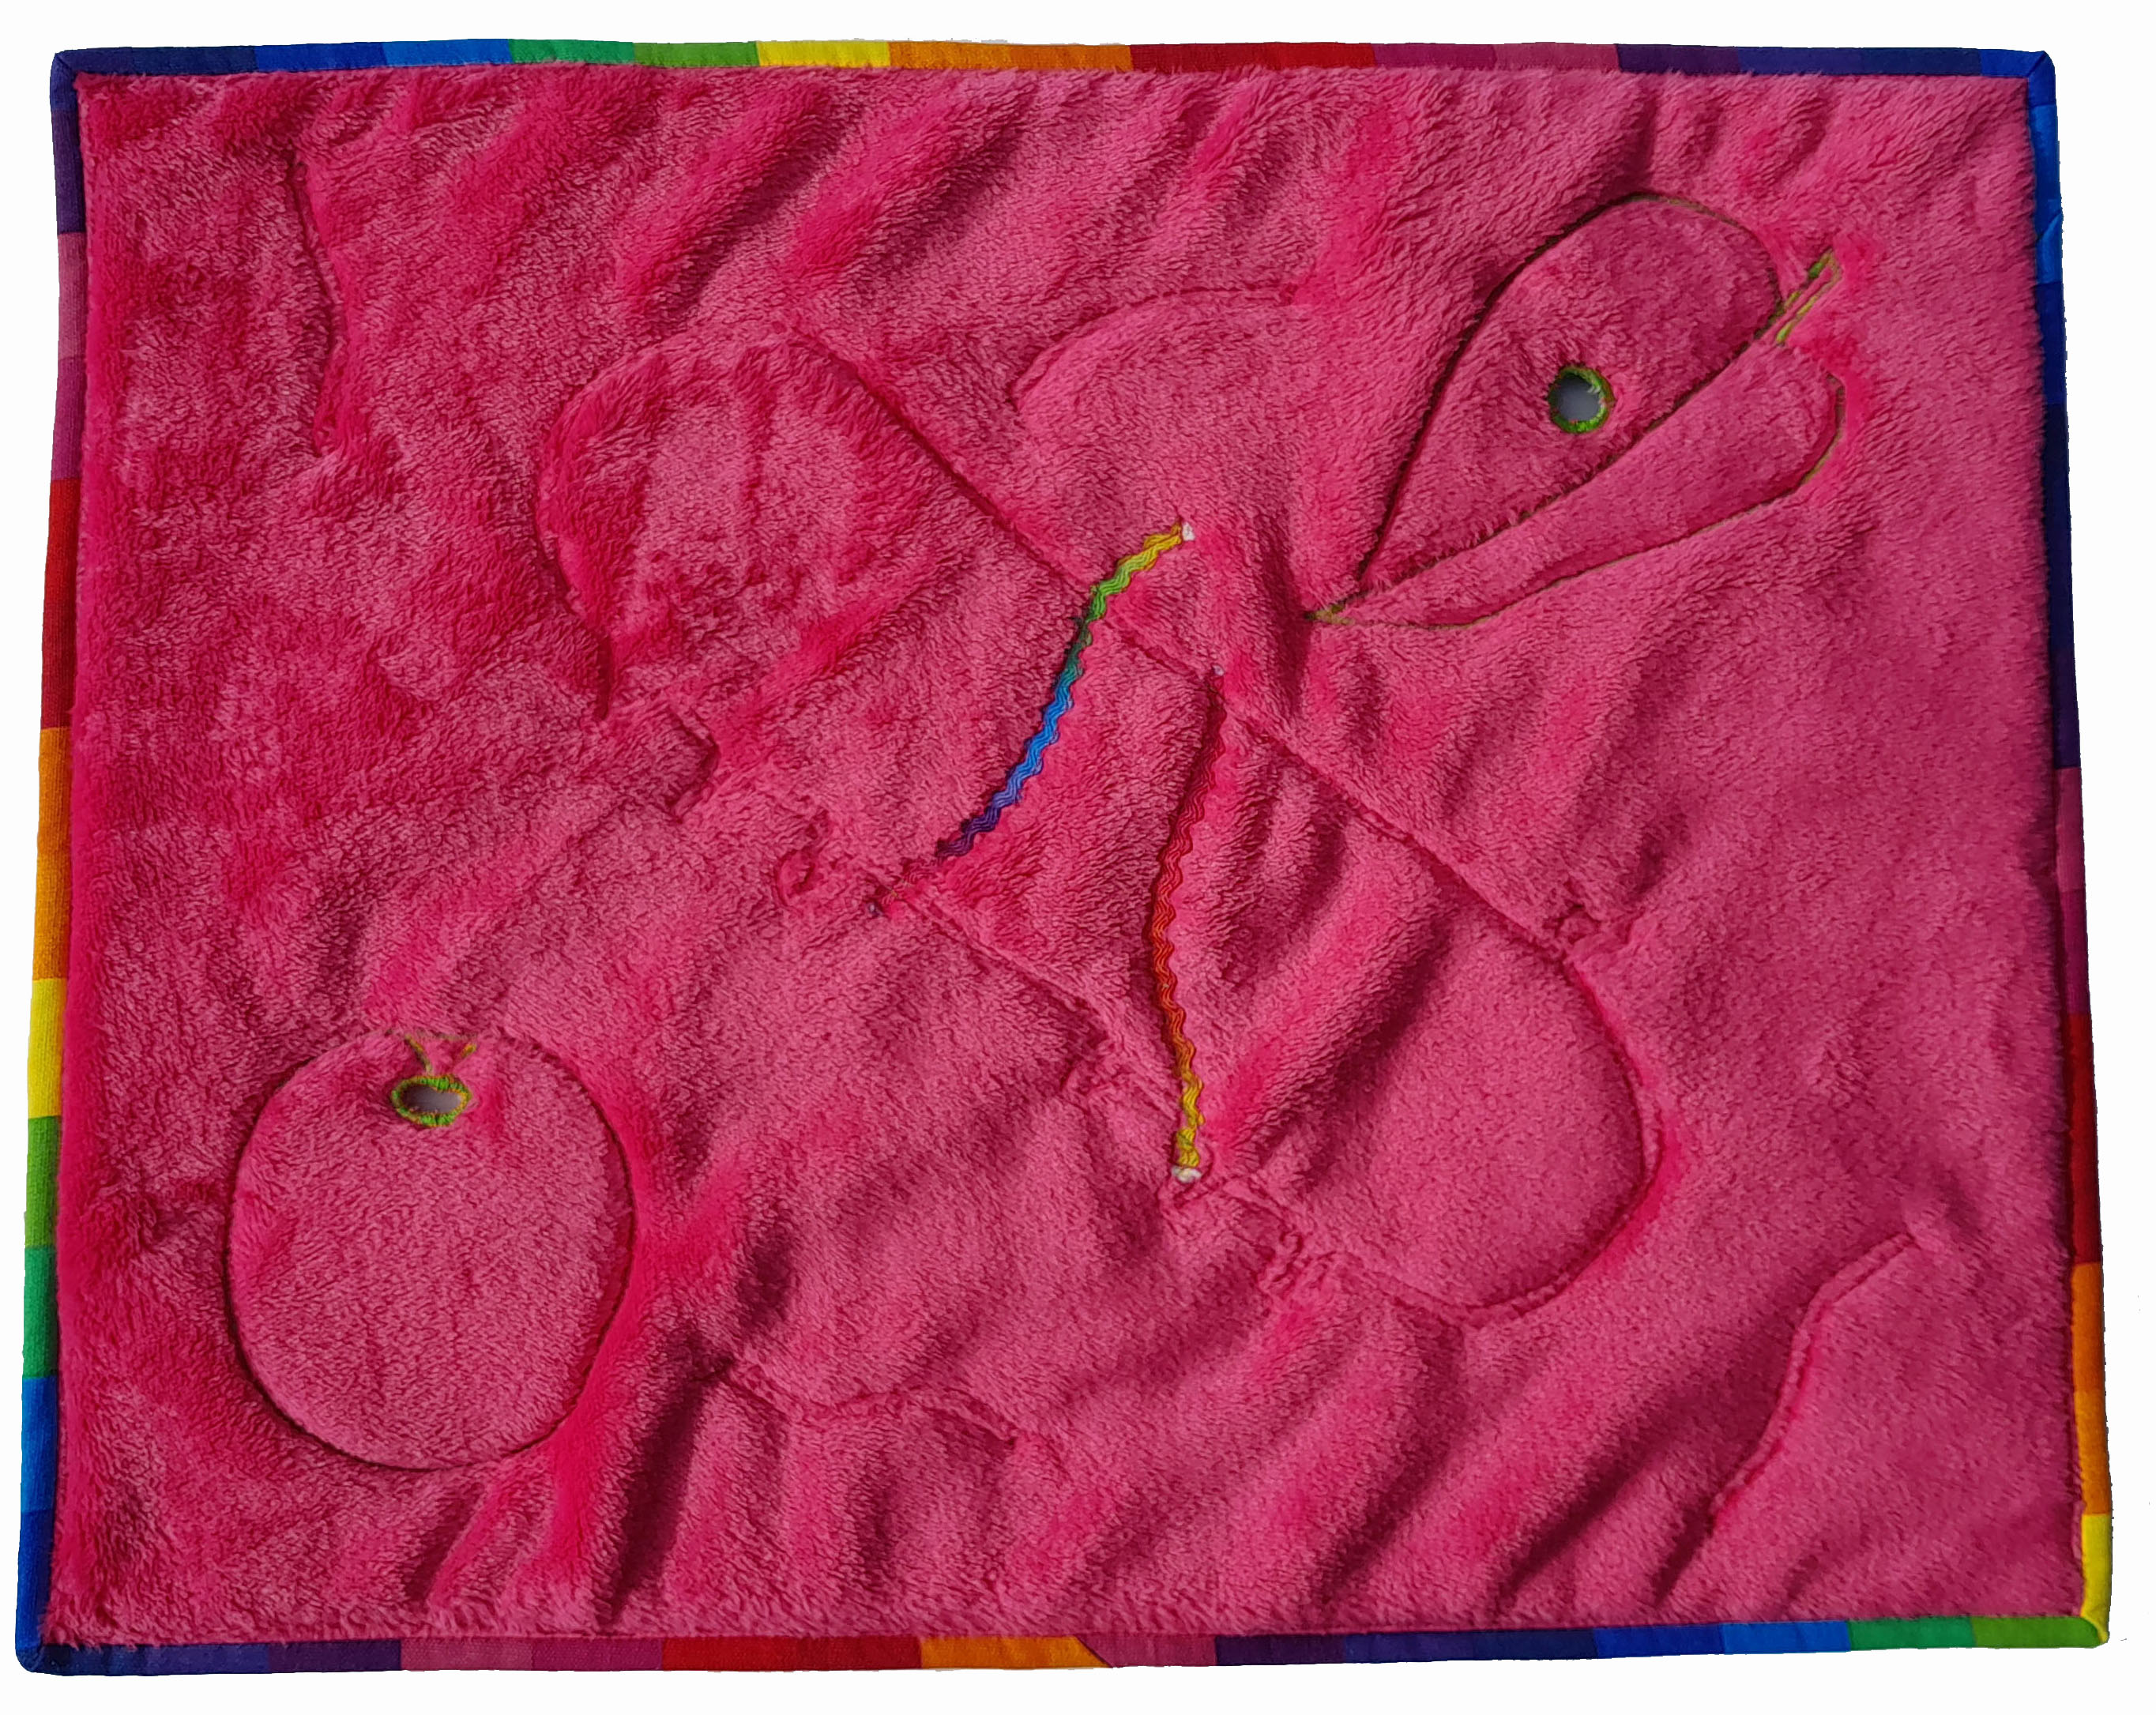
- Fleece or velour on back
- Thin wadding if needed
- Use contrast colour thread to highlight quilting on back
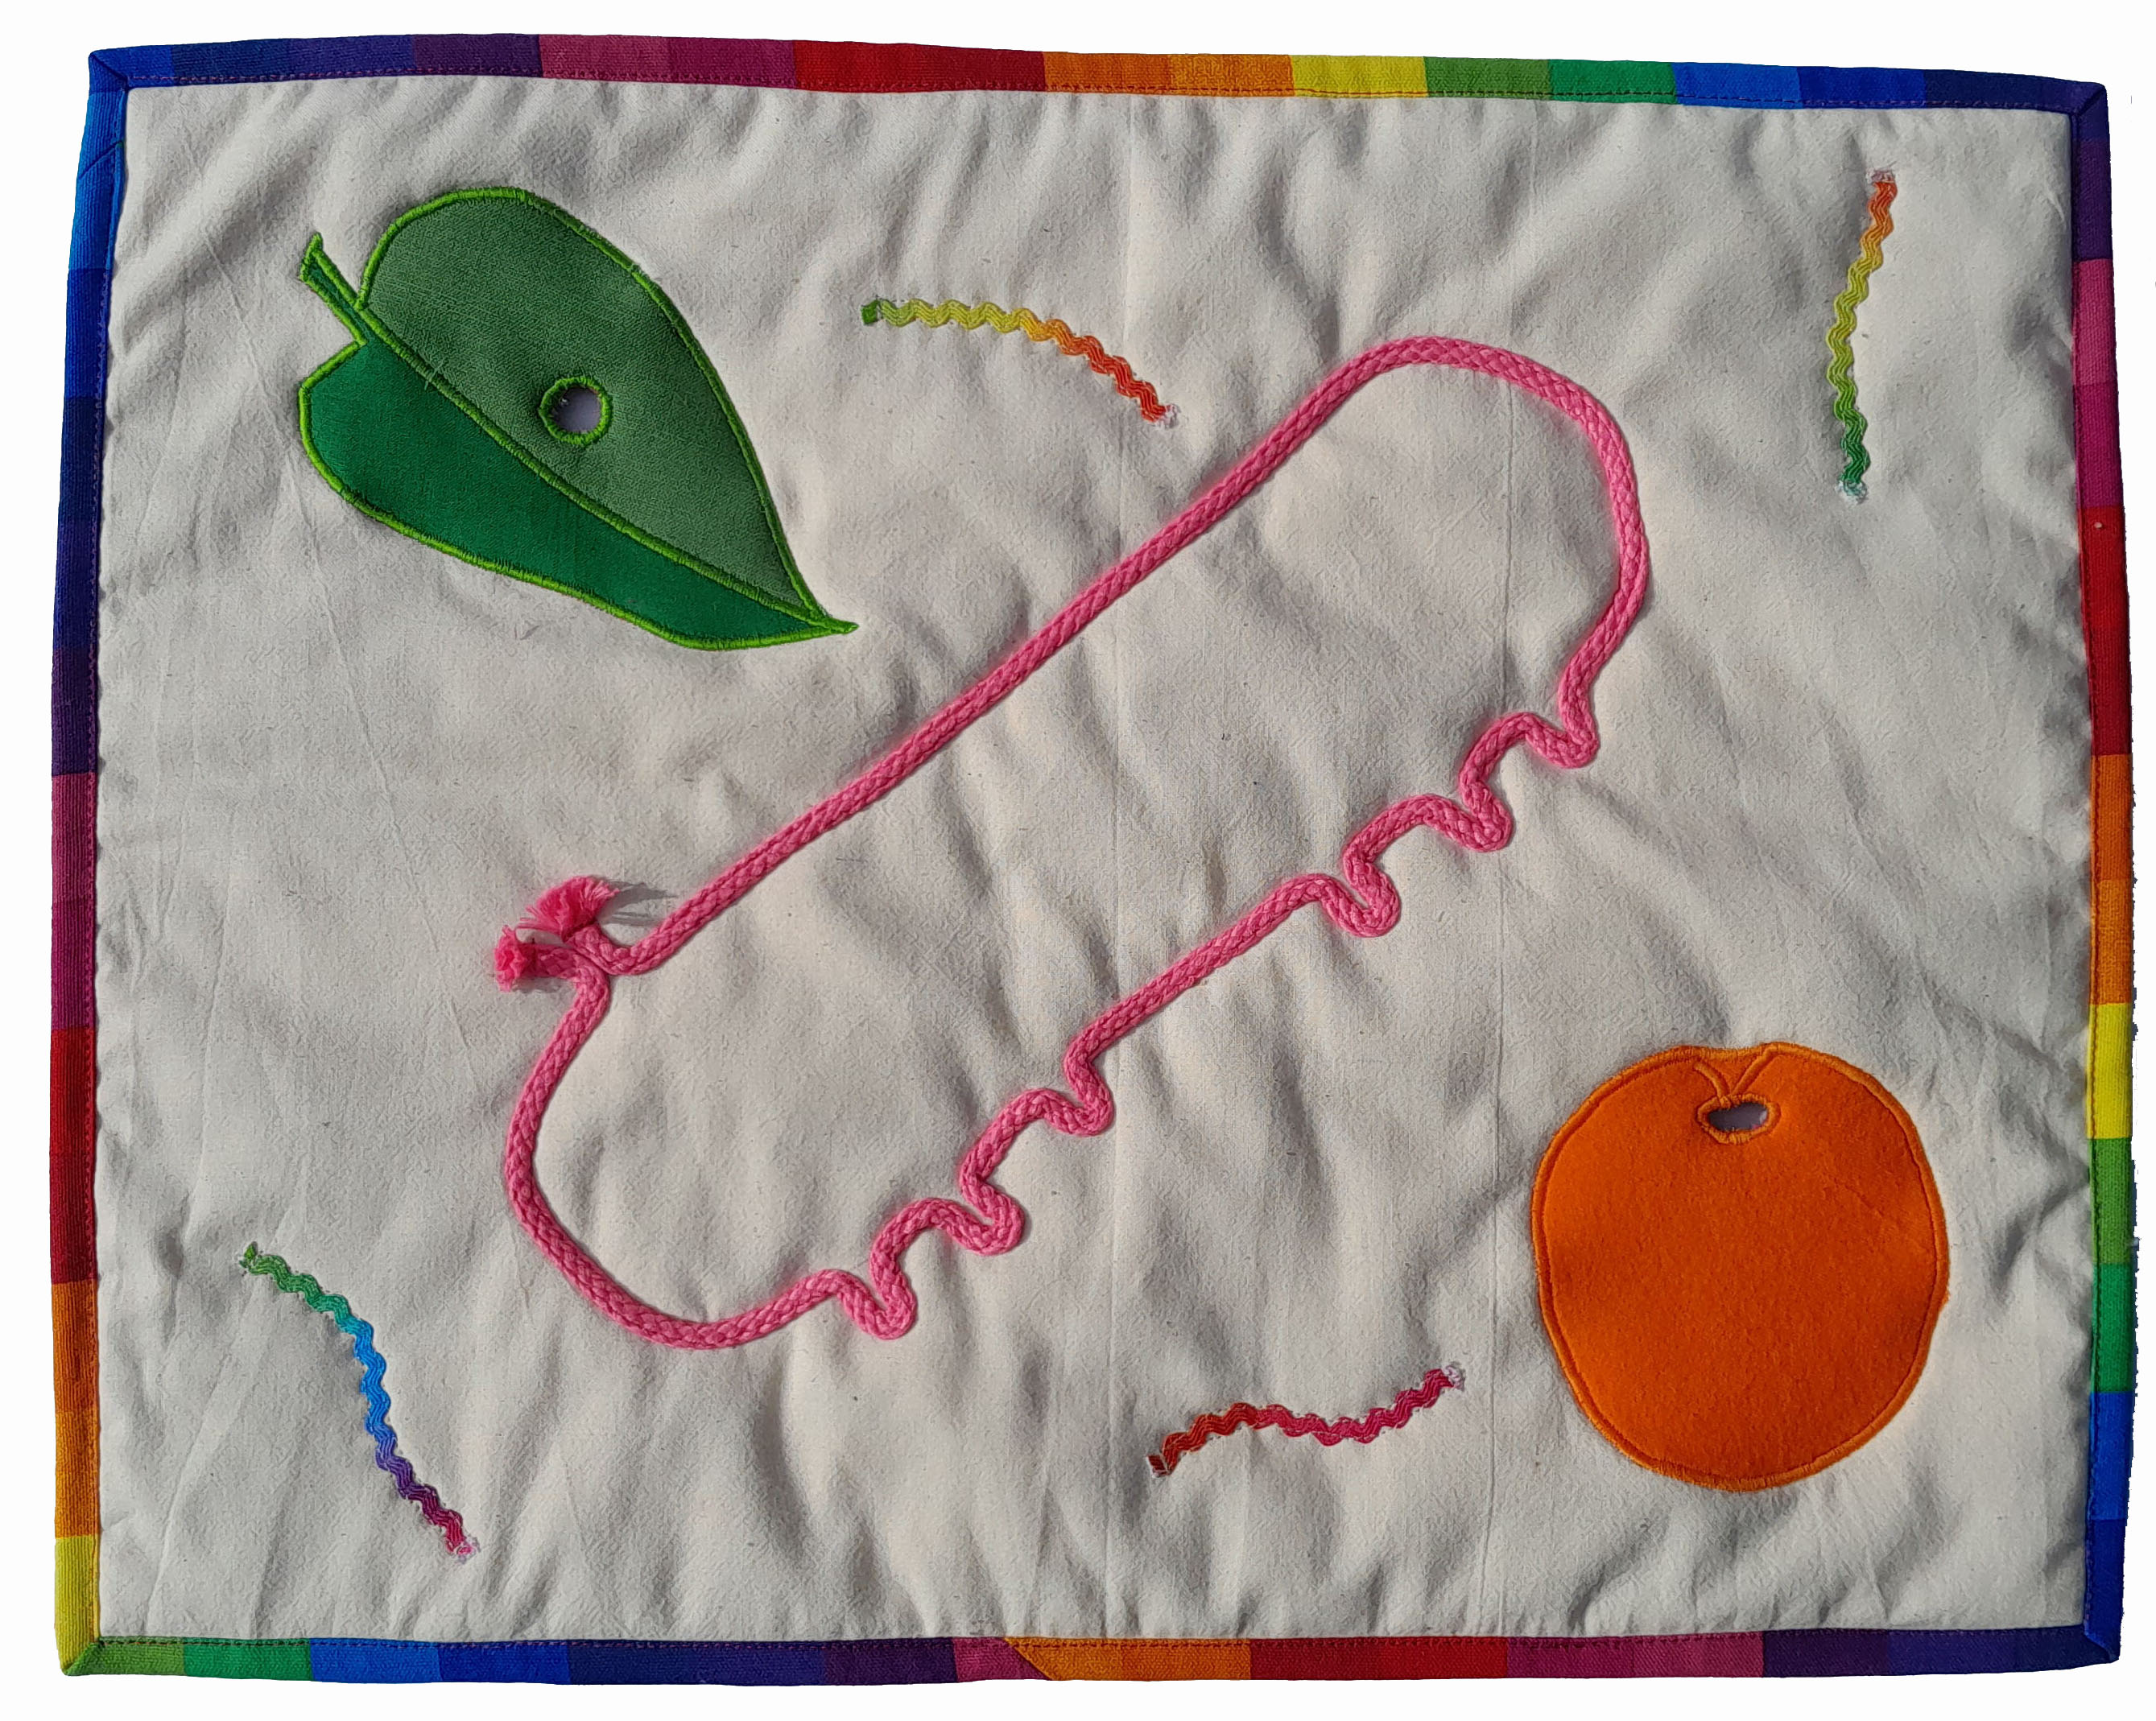
- 5mm rayon or cotton cord (cotton cord is softer, therefore easier to sew)
- Green and orange fabrics for leaf (9 x 14cm) and orange (10cm diam)
- Rainbow ric rac for worms
ORDER OF ASSEMBLY
- Create a rectangular template of the caterpillar, approximately 30cm long x 8cm deep, with curved ends. Mark 5-7 “feet” on the template, 2-3cm apart, 1cm wide. The “feelers” are about 5cm from the end.
- Use a pencil to lightly trace the rectangle onto the top fabric. Mark the feeler and feet placements with dots.
- Prepare orange and leaf for applique, using Vliesofix or equivalent, cut out shapes and iron on top fabric. Use a pencil to mark “holes” approximately 1cm diameter on orange and leaf.
- Assemble all layers.
- The cord is started at the top of the caterpillar shape, with the right hand feeler about 3cm above the line. I find it easiest to place it as I go – and I have learnt not to cut the cord first, as I can’t be sure of the exact length I will use.
- Anchor the cord at the beginning with stitches across the cord about 1cm from the end (the open end will fray). The cord is eased around the corners as you sew.
- Stitch with wide zig zag, or with two rows of straight stitching.
- At each foot marking, bend the cord tightly so the foot is approximately 1cm x 1cm (you may wish to practice this on some scrap fabric before doing the real thing.
- Use satin stitch to sew around the orange and leaf.
- Stitch the holes with straight stitch. Cut the hole using a seam ripper and scissors (like a button hole), then stitch with satin stitch.
- Trim and bind the quilt

Leave a comment