
DESCRIPTION
Can quilts make a noise? Yes, when sounds are placed between the quilt layers.
All children, both sighted and vision-impaired, will enjoy discovering the different sounds and trying to work out what creates them.
PLEASE REFER TO THE TECHNICAL INFORMATION BEFORE COMMENCING
Size
Approximately 35cm x 45cm (all layers cut 37 x 47cm)
Materials
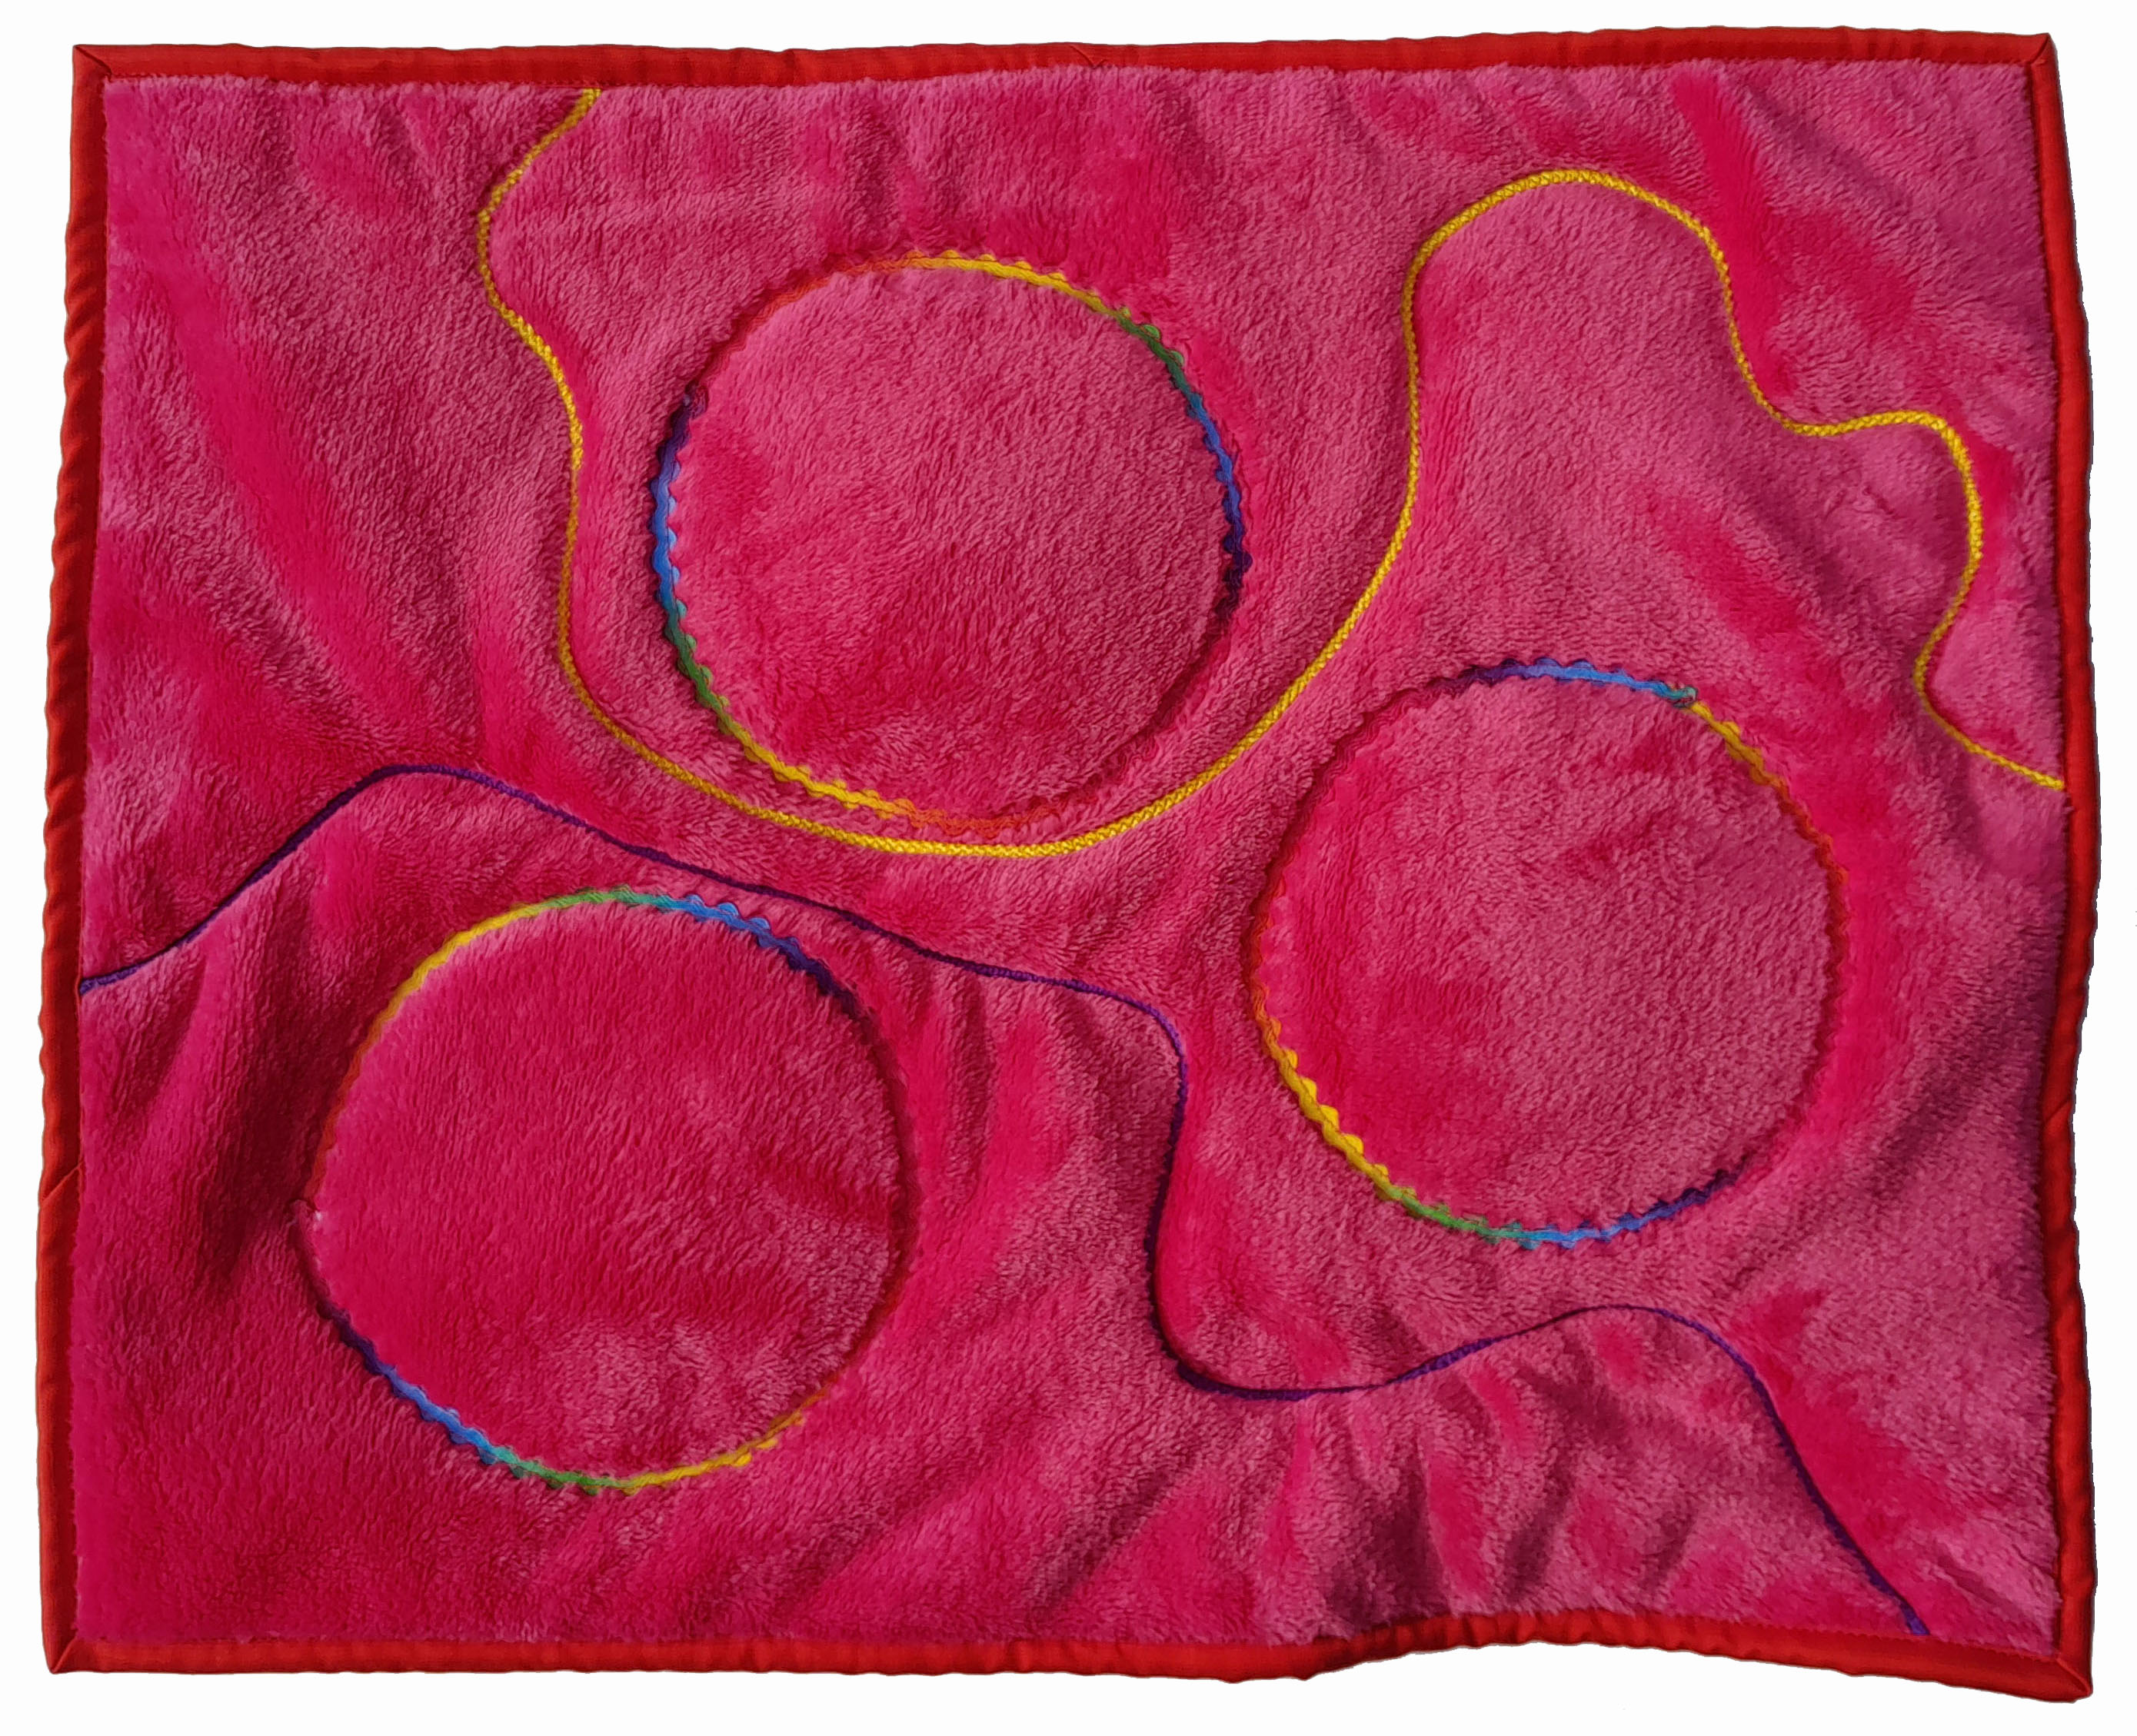
- Fleece fabric for the top, to counteract abrasion from the inserts, velour on the back (Listen 1 and 3). Can use fleece for both layers.
- Velour on top, fleece on back (Listen 2)
- Scrap fabric to enclose sound elements
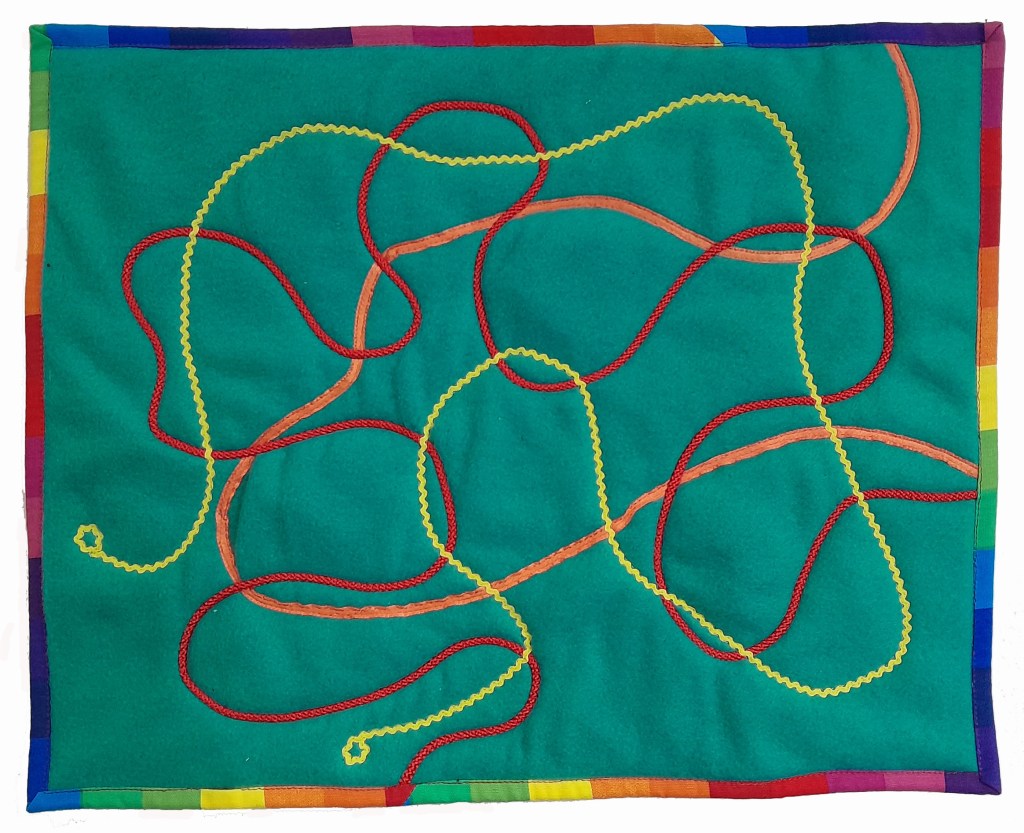
- Two or 3 lengths (1-1.5m) of ribbon, cord, ric rac etc.
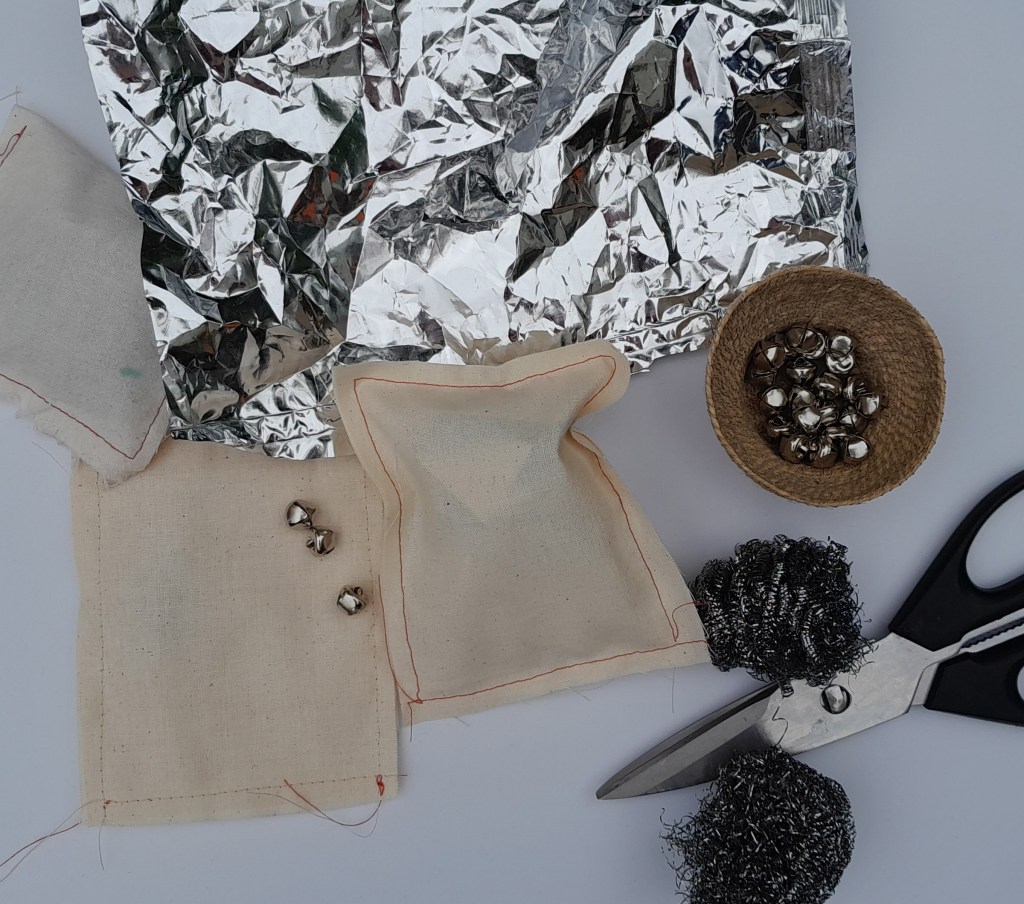
- In Listen 1 and 2 sounds are provided by 3 tiny bells (1cm diam, found in the party supplies section of a discount shop); crushed cellophane/foil packet; and metal pot scourer (a ball of wires, not the plastic variety or fine metal scourer) (see image below).
- In Listen 3 single bells are scattered throughout the quilt.
ORDER OF ASSEMBLY
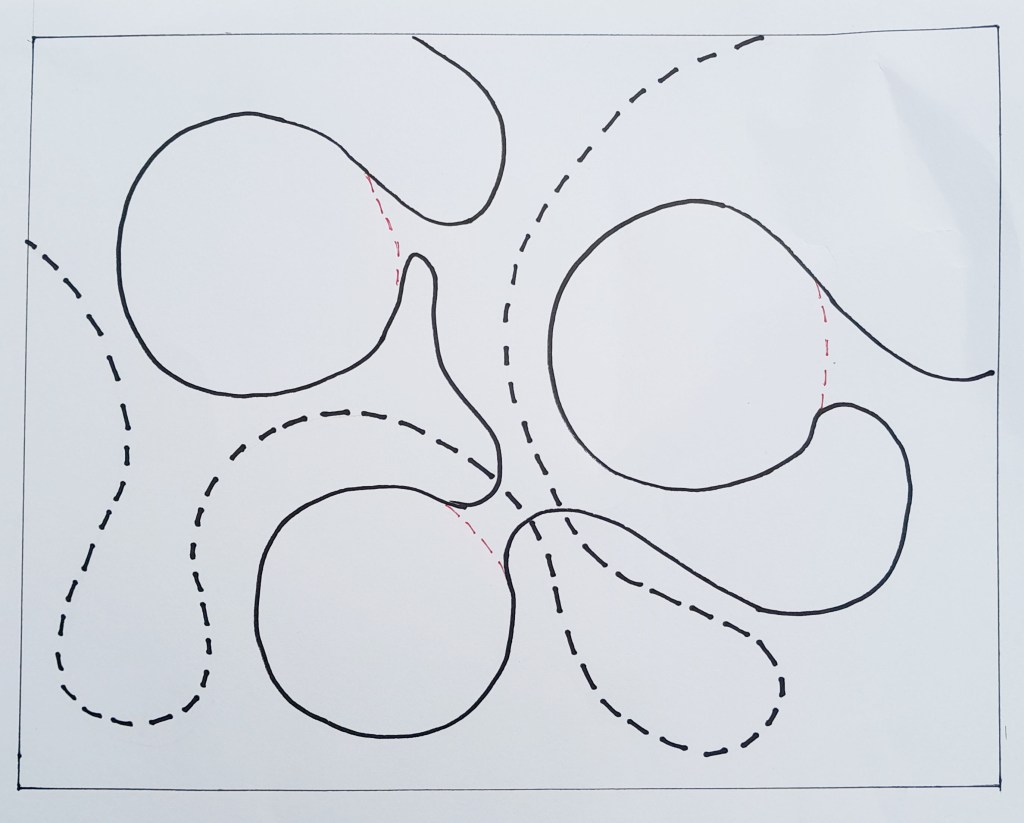
- Use pencil or chalk to mark three circles 10-12cm diameter on front fabric.
- Make 3 bags about 8-9cm square, seams on outside (some of the seams will be caught by the circular stitching):
- Place 3 bells in bag, stitch across end
- Scrunch a piece of cellophane/foil 10-15cm sq, into a bag, stitch across end
- Use kitchen scissors to cut the pot scourer in half horizontally, then half again. Place a piece in bag and stitch.
- Assemble the 3 layers.
- Place the bags within the circles, between the fleece fabric and backing.
- Pin then stitch the circles (stitching to be mostly covered by the ric rac/cord).
- Decide on placement of ric rac/cord (see example below), pin in place and stitch.
- In Listen 3 eight single bells are placed throughout the quilt, and maneuvered as needed when stitching the ric rac/cord.
- If you are wondering why the pink quilt is buckled, it is because I used a purple stretch cord – not a good idea, even if it was free! Doubly hard to sew when going against the pile of the velour.
- Trim and bind the quilt

Leave a comment